
Effortless Artisan Bread: No-Knead Dutch Oven Recipe for Beginners
There’s something timeless about the smell of freshly baked bread filling your kitchen. The comforting aroma, the crisp golden crust, and the satisfaction of slicing into a warm loaf make baking bread one of life’s simplest pleasures. Yet, many people shy away from breadmaking, assuming it requires endless kneading, complicated techniques, or bakery-grade equipment. The truth is, artisan bread can be incredibly simple—and this no-knead Dutch oven recipe proves it.
This easy recipe uses only flour, water, salt, and Rapid Rise yeast. That’s it—four humble ingredients that come together to create a rustic, flavorful loaf with a crackly crust and tender interior. The magic happens in the Dutch oven, which traps steam and recreates the conditions of a professional bakery oven. Even if you’ve never baked bread before, this recipe is practically foolproof.
The Allure of Artisan Bread
The word artisan often brings to mind small bakeries, stone hearth ovens, and crusty loaves cooling on wooden racks. But artisan bread isn’t defined by where it’s baked—it’s about the method and care behind it. Traditionally, artisan breads are made with minimal ingredients and slow fermentation, allowing flavor and texture to develop naturally.
Before modern yeast and stand mixers, bakers relied on time. The slow rise allowed gluten to form without kneading, while natural fermentation produced deep, complex flavor. The method you’ll use in this recipe honors that old-world tradition, but with modern convenience. It’s slow, simple, and beautifully reliable.
There’s also something deeply satisfying about crafting a loaf with your own hands. You measure, mix, wait, and then—like magic—your kitchen fills with the unmistakable scent of warm bread. It’s a process that feels almost meditative.
Why the Dutch Oven Is a Baker’s Secret Weapon
Dutch ovens have a long history in both European and American cooking. These heavy cast-iron pots with tight-fitting lids were designed to hold and radiate heat evenly, making them ideal for everything from stews to baked goods. In colonial America, they were a household essential; in Europe, they were prized for their versatility and durability.
For bread, the Dutch oven does something extraordinary—it traps moisture during baking. When bread dough hits a hot, enclosed environment, the water inside the dough turns to steam. That steam keeps the crust soft long enough for the bread to expand fully before hardening, which creates the signature open crumb and crisp outer shell we associate with artisan loaves.
Professional bakeries use steam-injected ovens to achieve the same result. But at home, the Dutch oven does the job perfectly. It’s a self-contained steam chamber that requires no extra equipment.
The Science Behind No-Knead Artisan Bread
When you think of traditional breadmaking, kneading is one of the defining steps—it develops gluten, the protein network that gives bread its structure. But in the no-knead method, time replaces physical effort. As the dough rests for many hours, enzymes in the flour break down proteins and starches, slowly building gluten strands without the need for kneading.
The result? A soft, elastic dough that holds gas bubbles beautifully. When baked, those bubbles expand, creating the light, airy interior that makes artisan bread irresistible.
This slow fermentation also enhances the flavor. The yeast works gradually, releasing subtle acids and alcohols that deepen the taste of the final loaf. You’ll notice it has a slight tang and rich aroma—qualities that are hard to achieve with quick, kneaded breads.
From Mixing Bowl to Masterpiece
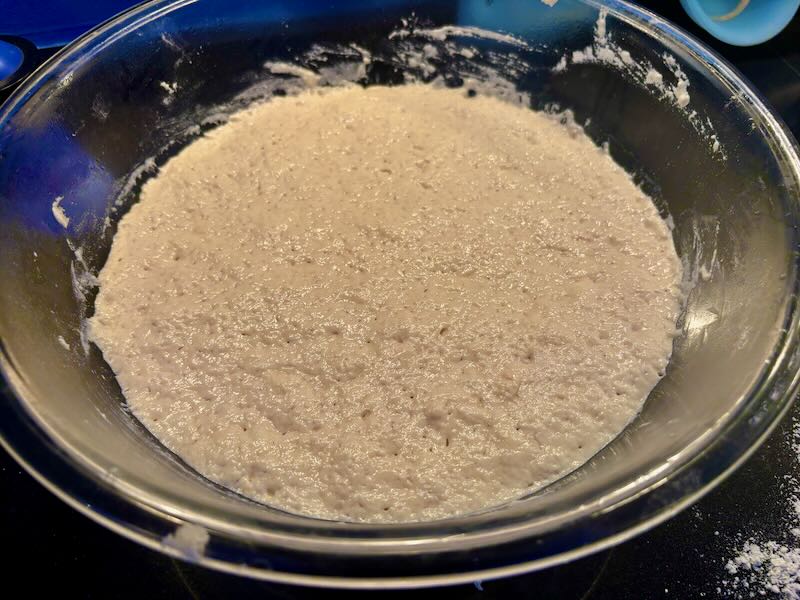
One of the best things about this recipe is how little effort it requires. After mixing the dough, you can simply let it rest overnight while you sleep. The next morning, you’ll have a beautifully risen, bubbly dough ready for baking.
I usually refrigerate the dough for a couple of hours before shaping—it makes it easier to handle, since it’s a bit sticky. The dough’s high hydration is key to achieving that chewy crumb and crispy crust. Using a scraper to fold it on a lightly floured surface helps shape it without deflating it.
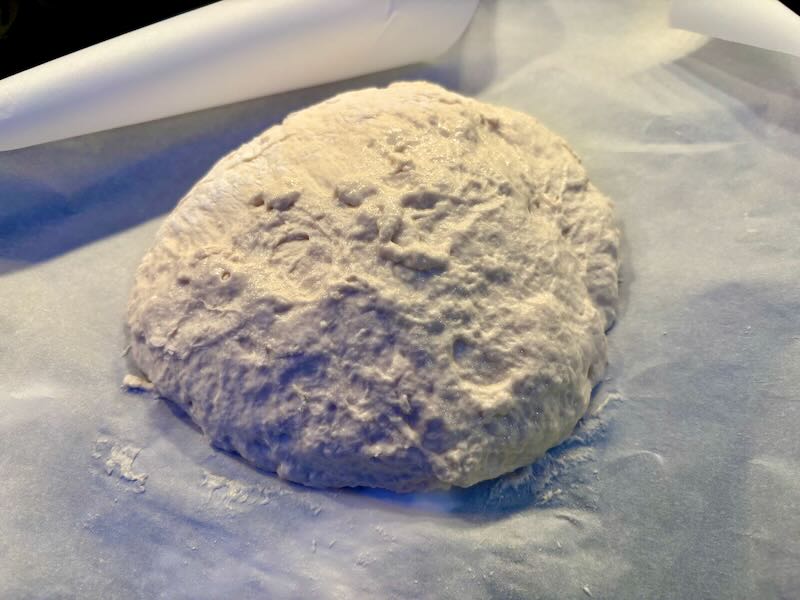
Once shaped, I place it on parchment paper, which makes transferring it to the Dutch oven simple and mess-free. The parchment also prevents sticking and helps lift the bread out once it’s baked.
A Little Heat, a Lot of Magic for the Artisan Bread
Preheating the Dutch oven is one of the most important steps. I heat mine at 450°F (230°C) before placing the dough inside. The burst of heat when the dough meets the pot gives it an impressive oven spring—the dramatic rise that happens in the first few minutes of baking.
The first 30 minutes are baked with the lid on, allowing steam to circulate and the crust to stay soft while the bread expands. Then, removing the lid for the final 10–12 minutes allows the crust to brown and develop that perfect, rustic texture.
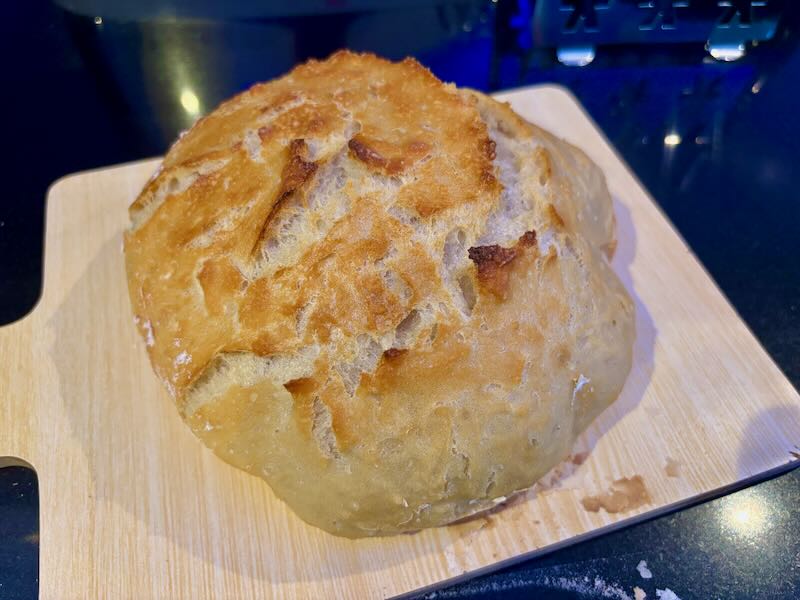
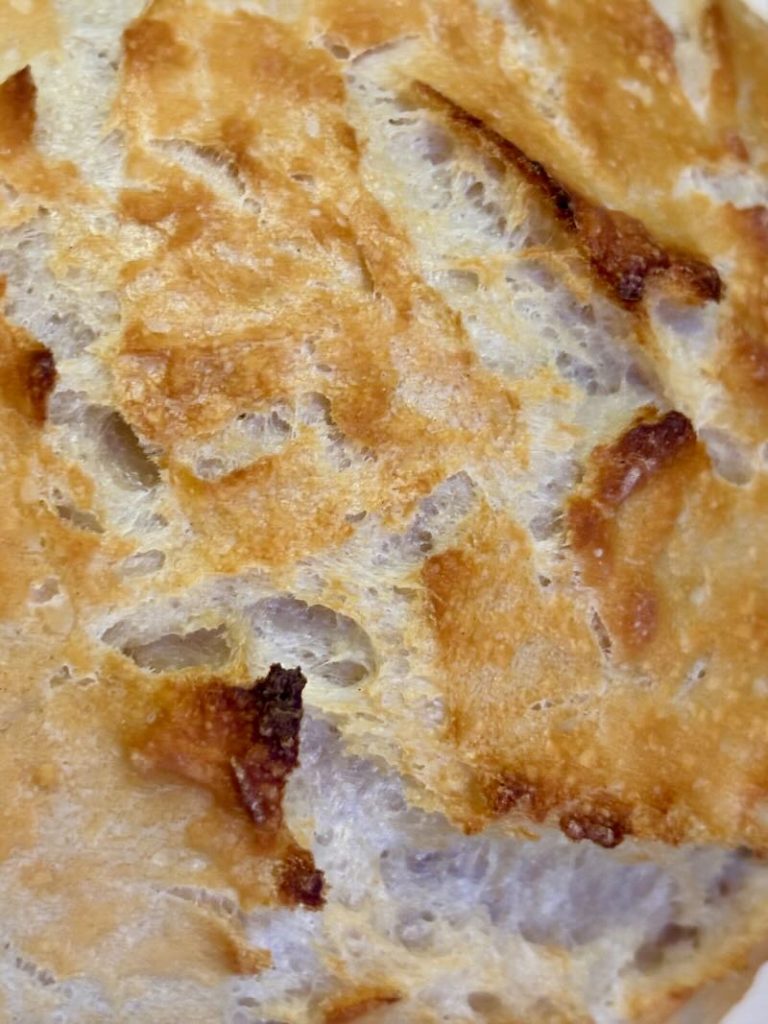
As it bakes, the kitchen fills with the comforting scent of warm yeast and toasted flour. When you finally lift the lid, you’re rewarded with a loaf that looks like it came from an artisan bakery: golden, round, and beautifully blistered.
The Reward: Fresh Bread at Home
It’s difficult to describe the satisfaction of slicing into a loaf you baked yourself. The sound of the crackling crust gives way to a soft, fragrant interior. A slather of butter, a drizzle of olive oil, or a swipe of jam—no matter how you enjoy it, it tastes better knowing you made it from scratch.
This bread is as versatile as it is simple. Serve it warm with soups or stews, use it for sandwiches, or slice it thinly for toasts and bruschetta. It keeps well for a couple of days, and even day-old slices make incredible croutons or breadcrumbs.
The Tradition of Homemade Bread
Baking bread at home connects us to a timeless human ritual. Long before bakeries, every home had a rhythm of mixing, fermenting, and baking. The process brought families together and filled kitchens with warmth. Today, even with our modern conveniences, baking bread still evokes that sense of comfort and accomplishment.
Throughout history, bread has been more than food—it’s been a symbol of community and sustenance. Across cultures, breaking bread has meant sharing not only a meal but a moment of connection. From the rustic boules of rural France to the ciabatta of Italy and the hearth loaves of Scandinavia, bread represents care and craft.
When you bake a loaf in your Dutch oven, you’re carrying that tradition forward in your own kitchen.
Tips for Perfect Dutch Oven Bread
- Be patient. Time is the secret ingredient. Letting the dough ferment overnight develops flavor and texture.
- Use the right pot. A cast-iron Dutch oven with a tight lid is ideal. Enamel-coated versions work beautifully too.
- Don’t over-flour. Sticky dough might seem challenging, but it’s key to getting a light, open crumb.
- Let it cool. Resting the bread before slicing keeps the interior moist and tender.
- Experiment. Once you master the base recipe, try adding herbs, seeds, or dried fruit.
A Few Flavor Inspirations
Once you’ve baked your first successful loaf, you’ll be hooked—and you’ll want to experiment. Here are a few creative ideas to make each loaf unique:
- Rosemary and Sea Salt Bread: Add chopped fresh rosemary to the dough and sprinkle flaky salt before baking.
- Garlic and Olive Loaf: Stir in roasted garlic cloves and sliced black olives for Mediterranean flair.
- Cranberry Walnut Bread: Add dried cranberries and chopped walnuts for a festive, sweet-savory option.
- Everything Bagel Bread: Sprinkle the top with an everything-bagel seasoning blend before baking.
Each variation keeps the same core process—slow fermentation, Dutch oven baking, and patience—but gives you a completely new flavor experience.
The Simplicity of Real Artisan Bread
This bread represents the kind of cooking I love most: simple ingredients transformed into something extraordinary. It doesn’t require skill, gadgets, or precision—just a willingness to try. The process is slow but easy, and the reward is deeply satisfying.
Baking this bread isn’t just about eating—it’s about the experience. The anticipation as it bakes, the first look when you lift the lid, the aroma that fills your home—it all adds up to something deeply personal and gratifying.
Whether you’re new to baking or rediscovering the joy of homemade bread, this recipe is a perfect place to start. And once you’ve tasted it, you’ll wonder why you ever bought bread at the store.
Final Thoughts
There’s no greater joy than making something from scratch that feels—and tastes—like a labor of love, even when it isn’t laborious at all. This no-knead Dutch oven bread proves that good food doesn’t have to be complicated. With a little time and a few basic ingredients, you can create a loaf that’s golden, crisp, and completely irresistible.
So, next time you’re craving fresh bread, skip the bakery line. Grab your Dutch oven, mix your dough, and let time do the work. In just a day, you’ll have an artisan masterpiece—one that fills your kitchen with warmth and your table with something truly special.

From Flour to Warmth: An Effortless Artisan Bread You’ll Fall in Love With
Description
This easy no-knead artisan bread bakes to perfection in a Dutch oven, giving you a crisp golden crust and soft, airy interior with almost no effort. Made from just four simple ingredients—flour, water, salt, and instant yeast—this recipe is perfect for beginners or anyone who wants bakery-quality bread at home without kneading or special equipment. Let the dough rise overnight, bake it hot and fast, and in under an hour you’ll have a rustic loaf that looks and tastes like it came from a professional bakery. Ideal for sandwiches, soups, or enjoyed warm with butter, this Dutch oven bread is simplicity at its best.
Ingredients
Instructions
-
Mix the Dough
In a large bowl, combine the flour, yeast, and salt. Mix briefly with a spoon or spatula. Add the warm water and stir until everything comes together. The dough will be shaggy and sticky—that’s exactly how it should look. Resist the urge to add extra flour; this dough is meant to be loose.
Once mixed, cover the bowl with plastic wrap, beeswax wrap, or a clean kitchen towel. Let it rest at room temperature for at least 2 to 12 hours, preferably overnight. This slow rise allows the yeast to ferment the dough, developing complex flavors and that characteristic artisan texture.
-
Refrigerate and Fold
The next morning, place the bowl in the refrigerator for a couple of hours. Chilling the dough makes it easier to handle since it’s quite sticky when warm. After refrigeration, lightly flour your work surface and use a large scraper to fold the dough a few times. You don’t need to knead—just gently lift and fold the edges over themselves until the dough begins to form a round shape.
Using the scraper, shape the dough into a ball. Don’t worry if it’s not perfect; rustic is part of the charm.
-
Prepare for Baking
Cut a sheet of parchment paper and lightly dust it with flour. Place the dough on the parchment and let it rest while you preheat your oven.
Set your oven to 450°F (230°C) and place your Dutch oven—lid and all—inside to heat up. This step is essential. A hot Dutch oven helps the bread rise quickly in the first minutes of baking, a process known as “oven spring.” It also ensures a crisp crust.

-
Bake the Bread
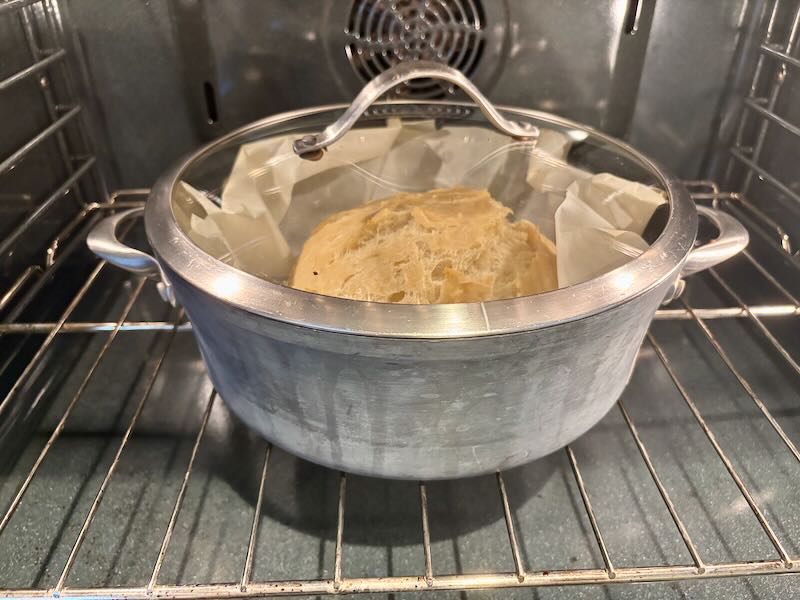
Once the oven and Dutch oven are hot (after about 30 minutes), carefully remove the pot and take off the lid. Using the parchment paper, lift your dough and lower it gently into the Dutch oven. The parchment makes this step safe and easy, preventing burns or misshapen loaves.
Cover with the lid and return to the oven. Bake for 30 minutes. Then remove the lid and continue baking for another 10 to 12 minutes until the crust is a rich, golden brown. The aroma filling your kitchen at this point is pure heaven.
-
Cool and Enjoy
Carefully lift the bread from the Dutch oven using the parchment paper and set it on a cooling rack. As tempting as it is to slice into it right away, let it cool for at least 30 minutes. This allows the interior to finish setting, giving you that perfect soft crumb and crisp crust contrast.
When it’s finally time to cut, use a serrated bread knife and listen for that satisfying crackle of the crust.
