
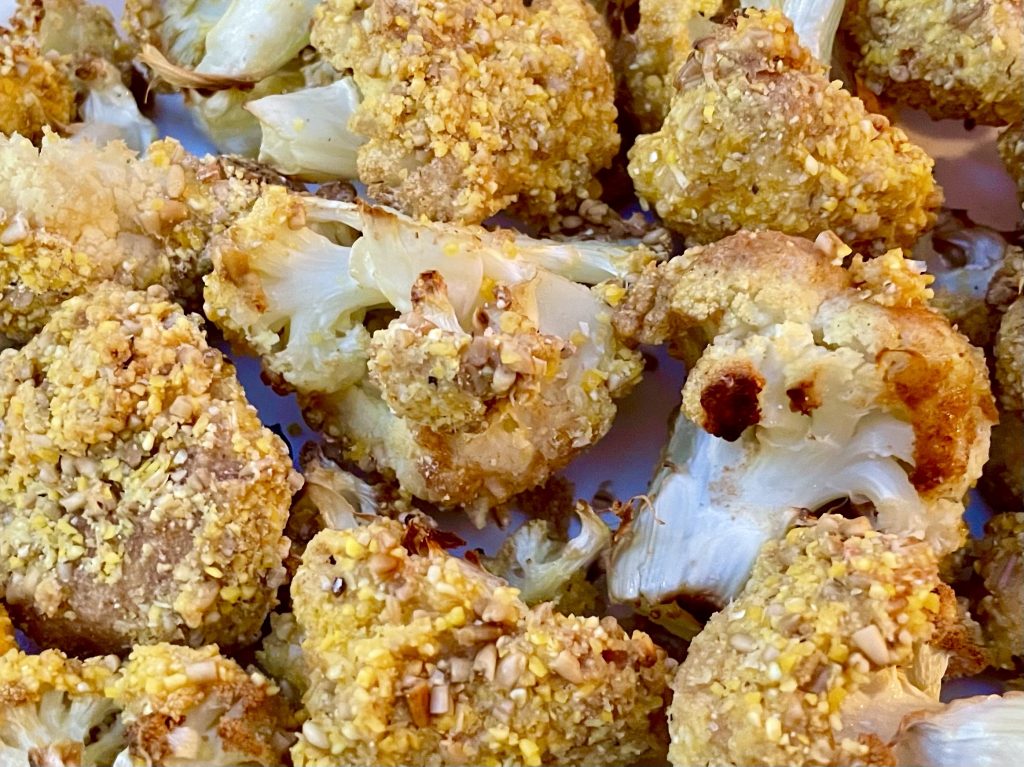
Crunchy, Flavorful, and Gut-Friendly: Low-Histamine Grilled Breaded Cauliflower
Looking for a crispy, satisfying side that fits your low-histamine lifestyle? This Low-Histamine Grilled Breaded Cauliflower delivers everything you want—crunch, flavor, and peace of mind. It’s a clever twist on a classic, and it doesn’t rely on high-histamine ingredients like traditional bread crumbs or wheat flour.
Why Breaded Cauliflower Works on a Low-Histamine Diet
Following a low-histamine diet can feel restrictive—especially when it comes to breaded favorites. Most breadcrumbs and flours contain wheat or additives that might trigger symptoms. But that doesn’t mean you have to miss out.
We’ve reimagined the breading process using gut-friendly ingredients. The result? A golden, crispy cauliflower dish that satisfies without compromise.
Smart Swaps That Add Crunch and Keep It Clean
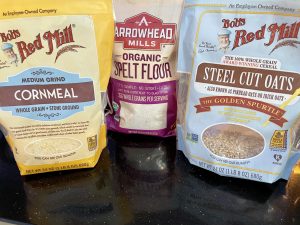
Instead of breadcrumbs, we use cornmeal. Its coarse texture crisps up beautifully when grilled or baked, giving your cauliflower that satisfying crunch. Want to take it a step further? Add steel-cut oats to the mix. They bring extra texture and a nutty bite that pairs perfectly with the mild flavor of cauliflower.
Binding Without the Bloat
To help the breading stick, we use eggs, which are generally low in histamine and diet-friendly. They coat each floret evenly, helping the crust crisp up while locking in moisture.
If you’re used to the three-step breading method, you’ll love using spelt flour as a wheat-free alternative. It offers a subtle nuttiness and helps the cornmeal coating cling just like traditional flour—without triggering histamine sensitivity.
Grill or Bake for a Crispy Finish
You can grill these florets over medium-high heat for a smoky finish or bake them until golden brown. Either method delivers a crunchy outside and tender inside—without any frying required.
A Versatile Dish with Bold Potential
This grilled breaded cauliflower works as a flavorful side, a plant-based appetizer, or even a main dish when paired with a fresh salad. Serve it alongside grilled chicken, roasted vegetables, or a creamy low-histamine dip to round out the plate.
Plus, it stores well in the fridge for a couple of days—just reheat in the oven or air fryer to bring back that perfect crisp.
Flavor Without Compromise
Creating delicious low-histamine meals takes a bit of creativity—but it’s absolutely possible. This dish proves that you don’t need processed ingredients or complicated steps to make something crave-worthy.
So grab your cauliflower, whip up this crunchy coating, and discover just how satisfying clean eating can be.

Easy Low-Histamine Breaded Cauliflower with a Perfect Crunch
Description
Breaded cauliflower is a delicious side dish that pairs well with chicken, meat, or fish meals. The contrast between the crunchy breaded exterior and the tender texture of the cauliflower creates a delightful combination of flavors and textures.
However, for individuals following a low-histamine diet, traditional bread crumbs, and wheat flour are typically avoided due to their potential histamine content. This limitation prompted me to find alternative ingredients that are permitted on a low-histamine diet, while still providing a similar taste and experience.
After some experimentation, I discovered that cornmeal works wonderfully as a substitute for traditional bread crumbs. Its coarse texture adds a satisfying crunch to the cauliflower when baked or fried. For those who prefer a bit more texture, incorporating steel-cut oats into the breading mixture can provide an additional level of coarseness.
Eggs, which are generally allowed on a low-histamine diet, can be used to bind the breading mixture and help it adhere to the cauliflower florets. If you prefer to follow a three-step breading process, where the cauliflower is first coated in flour before dipping it in egg and then the breading mixture, spelt flour can be used as a suitable alternative to wheat flour.
By making these simple substitutions, individuals on a low-histamine diet can still enjoy the deliciousness of breaded cauliflower while adhering to their dietary restrictions. It's a testament to the ingenuity and adaptability required to create satisfying meals within the constraints of a specific dietary approach.
Ingredients
Instructions
-
Thoroughly clean and then proceed to cut the cauliflower into bite-sized pieces.

-
Prepare three small bowls or plates for your breading process. In the first bowl, combine the spelt flour and salt, ensuring an even mixture. Crack and beat an egg in the second bowl using a fork to achieve a uniform blend. In the third bowl or plate, place the cornmeal, and if desired, the steel-cut oats for added texture. This setup will facilitate a seamless breading procedure for your culinary creation.

-
Retrieve a baking tray, a step I typically enhance with the convenience of lining it with foil for effortless cleanup and seamless transfers. Now, commence the breading process by taking a piece of cauliflower and sequentially dipping its top into the spelled flour, followed by a dip into the beaten egg, and culminating with a final coating in the cornmeal. Place the breaded cauliflower onto the tray, and proceed to repeat this procedure for the remaining cauliflower pieces. Should any of the bowls run low on their respective contents, simply replenish them as needed to ensure a consistent and satisfying breading experience.

-
Position the coated cauliflower pieces onto the baking tray, and then carefully slide the tray into the preheated oven set at 350ºF. Allow the cauliflower to bake for approximately 20 minutes, or until the florets are tender and the breaded exterior takes on a delightful hint of color. This patient baking process will result in a satisfyingly crisp and flavorful outcome that is sure to delight your senses.

-
When done, serve and enjoy!
